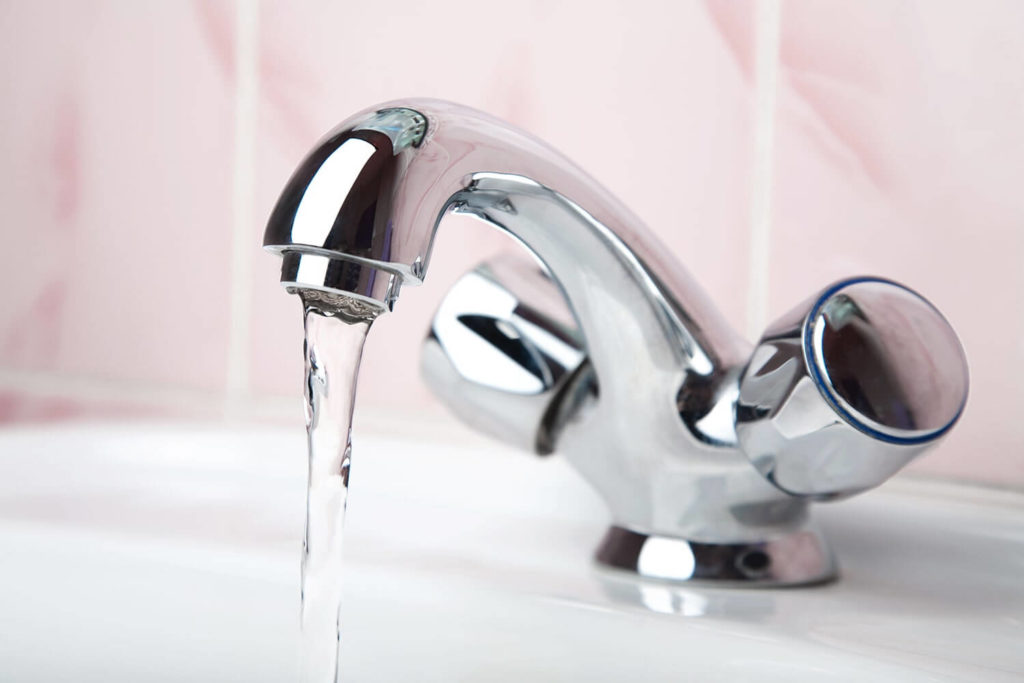
Ok, first things first, we understand how frustrating a dripping mixer tap can be and want to help you resolve the problem quickly. You’ll be glad to know, therefore, that often there’s a very simple fix for that can be applied.
Please note, this blog specifically focuses on mixer taps that have a cartridge. If your mixer tap doesn’t have a cartridge, but perhaps instead has seal rings, the advice below won’t apply.
Preliminary Step One: Gather your tools
You’ll potentially need:
- A flathead screwdriver
- WD40
- A set of Allen keys
Preliminary Step Two: Turn off the water supply
This may be a matter of simply finding the isolation switch if you’re working in your bathroom, or you might need to find the main stopcock and turn its tap off. Once you’ve done that, you’ll need to drain the system by turning on the dripping mixer tap and letting it run until it stops… otherwise you’ll be flooded once you start working on it. By the way… be sure to run both hot and cold taps to ensure the whole system is empty.
Preliminary Step Three: Keep track of what goes where
Remind yourself that whenever you remove something you need to make a note of where it goes. This will make putting the tap back together again at the end much easier.
Note of Caution: Within your mixer tap is a cartridge. This cartridge holds ceramic discs rather than washers. There will be one disc for the cold water and one disc for the hot. If these ceramic discs break, you will have to replace the whole cartridge. If this happens, take care that you buy the right cartridge, because the wrong one will mean the tap won’t fit properly.
How to fix a dripping tap
Step One: Remove the decorative parts
If your tap has caps/covers on the knobs, lever these off with a flathead screwdriver and keep them to one side.
Step Two: Unscrew the tap handle
Under the caps/covers you’ll see a central screw. You may discover the central screw is hidden behind another small screw. If that’s the case, unscrew both and twist off the casing to reveal the cartridge underneath. Note, they may be stiff, so a little WD40 might be useful.
Step Three: Remove the cartridge and replace it
Make a point of identifying the hot and cold cartridge parts and remove the cartridge. Then, replace it with the new one, ensuring the hot and cold sections match as per before.
Step Four: Retrace your steps
Now it’s time to put your tap together in the reverse order that you took it apart.
Step Five: Hold your breath and switch on the water supply
The moment of truth has now arrived… Turn the tap see if your hard work has paid off.
Step Six: Is the tap still dripping?
If the answer is no… yay! Brilliant, job done. However, if the answer is yes, then we recommend you give us a ring on 01908 034194. And don’t worry, we are often called out once someone has had a try for themselves. It’s not a problem at all.

